
The Final Walkthrough Before Closing on a Florida Keys Waterfront Home: A Buyer's Checklist for the Last Walk-Through and Settlement
The final walkthrough is your last chance to confirm the home is in the condition you agreed to buy. On a Florida Keys waterfront property, that means verifying repairs, checking the dock and seawall, and making sure everything that should stay actually stays.
Key Takeaways
- The final walkthrough happens in the days before closing, after the seller has moved out and the agreed repairs are complete. It is your last chance to confirm the property is in the condition you contracted to buy.
- In the Florida Keys the walkthrough extends beyond the interior: verify the dock, the seawall, the boat lift, and any marine equipment that came with the sale.
- Bring the contract, the inspection report, and the repair agreement so you can confirm every agreed item was actually completed rather than trusting your memory.
- Document everything with dated photos and video, so any issue you find is backed by evidence when you raise it before settlement.
- Settlement itself is a meeting of paperwork and funds. With the walkthrough done properly, it is usually a smooth final step before you take the keys.
After the offer, the inspection, and the repairs, one step still stands between you and your new Florida Keys waterfront home: the final walkthrough. It is the buyer's last opportunity to walk the property, confirm the condition, and make sure the home is ready for settlement. On a waterfront property the checklist is longer than it looks, because the dock, the seawall, and the boat lift deserve the same attention as the kitchen. Here is what to check and how to handle the walk-through with confidence.
Why the Final Walkthrough Matters More on a Waterfront Home
On any home purchase, the final walkthrough protects you from accepting a property in worse condition than you agreed to buy. On a Florida Keys waterfront home, the stakes are higher because so much of the value sits in systems a mainland buyer never thinks about. The seawall, the pilings, the boat lift, and the dock are expensive to repair and central to how you will use the property. If a storm or an outgoing seller's crew has damaged any of them between inspection and closing, the walkthrough is where you find out.
The walkthrough is not a second inspection, and it is not the time to renegotiate the whole deal. It is a verification step. You are confirming that the condition has not changed materially, that the agreed repairs were made, and that the personal property that should stay is still there. For a deep-water canal home in Key Largo or any of the Upper Keys waterfront communities, the marine systems are part of that verification.
When the Walkthrough Happens and Who Attends
The walkthrough is usually scheduled within a few days of closing, after the seller has vacated and the home is empty. It is typically done within the final days, and in many Keys transactions it happens a day or two before settlement. You should attend with your buyer's agent, and the seller is usually not present, which lets you look freely. The timing is important: you want the home empty so you can see the condition of every room, and you want it late enough that the completed repairs are in place.
If you are buying from out of state, and many Keys waterfront buyers do, your agent can perform the walkthrough with you on a video call. I have walked through dozens of properties with buyers joining from across the country, moving slowly through each room and down to the dock so they can see the condition in real time. It is not a substitute for being there, but it is a practical way to protect a remote buyer who cannot fly in for the walk-through.
Bring the Paperwork: Contract, Inspection Report, and Repair List
The single most useful thing you can bring to the walkthrough is your paperwork. The contract tells you what stays and what goes, the inspection report tells you what was flagged, and the repair agreement tells you what was promised. Without them you are walking from memory, and memory is not reliable on closing week. Have the list of agreed repairs in hand and check each one off as you confirm it.
The documents you reviewed before the offer, from the survey to the title work, are the context for this walk-through. My guide to title search, survey, and closing mechanics covers the settlement side of the process, and the pre-closing review in my guide to the Keys waterfront due diligence period shows where the walkthrough fits in the overall timeline.
Verify the Repairs From the Inspection
If your inspection turned up items that the seller agreed to fix, the walkthrough is where you confirm they were actually done. Do not assume that because it is on the list it was completed. Look at each repair directly: the re-sealed window, the replaced roof vent, the serviced air handler, the repaired step. If a repair is not visible because it was a system service, ask for the receipt or the contractor's confirmation.
On a waterfront home, some of the most valuable repairs are outside. If the inspection flagged the seawall coping, the dock decking, or the boat lift, confirm that work in person. My guide to negotiating repairs after the Keys home inspection explains how these items are agreed in the first place, and the walkthrough is where the agreement comes due.
Check the Waterfront Systems: Seawall, Dock, and Boat Lift
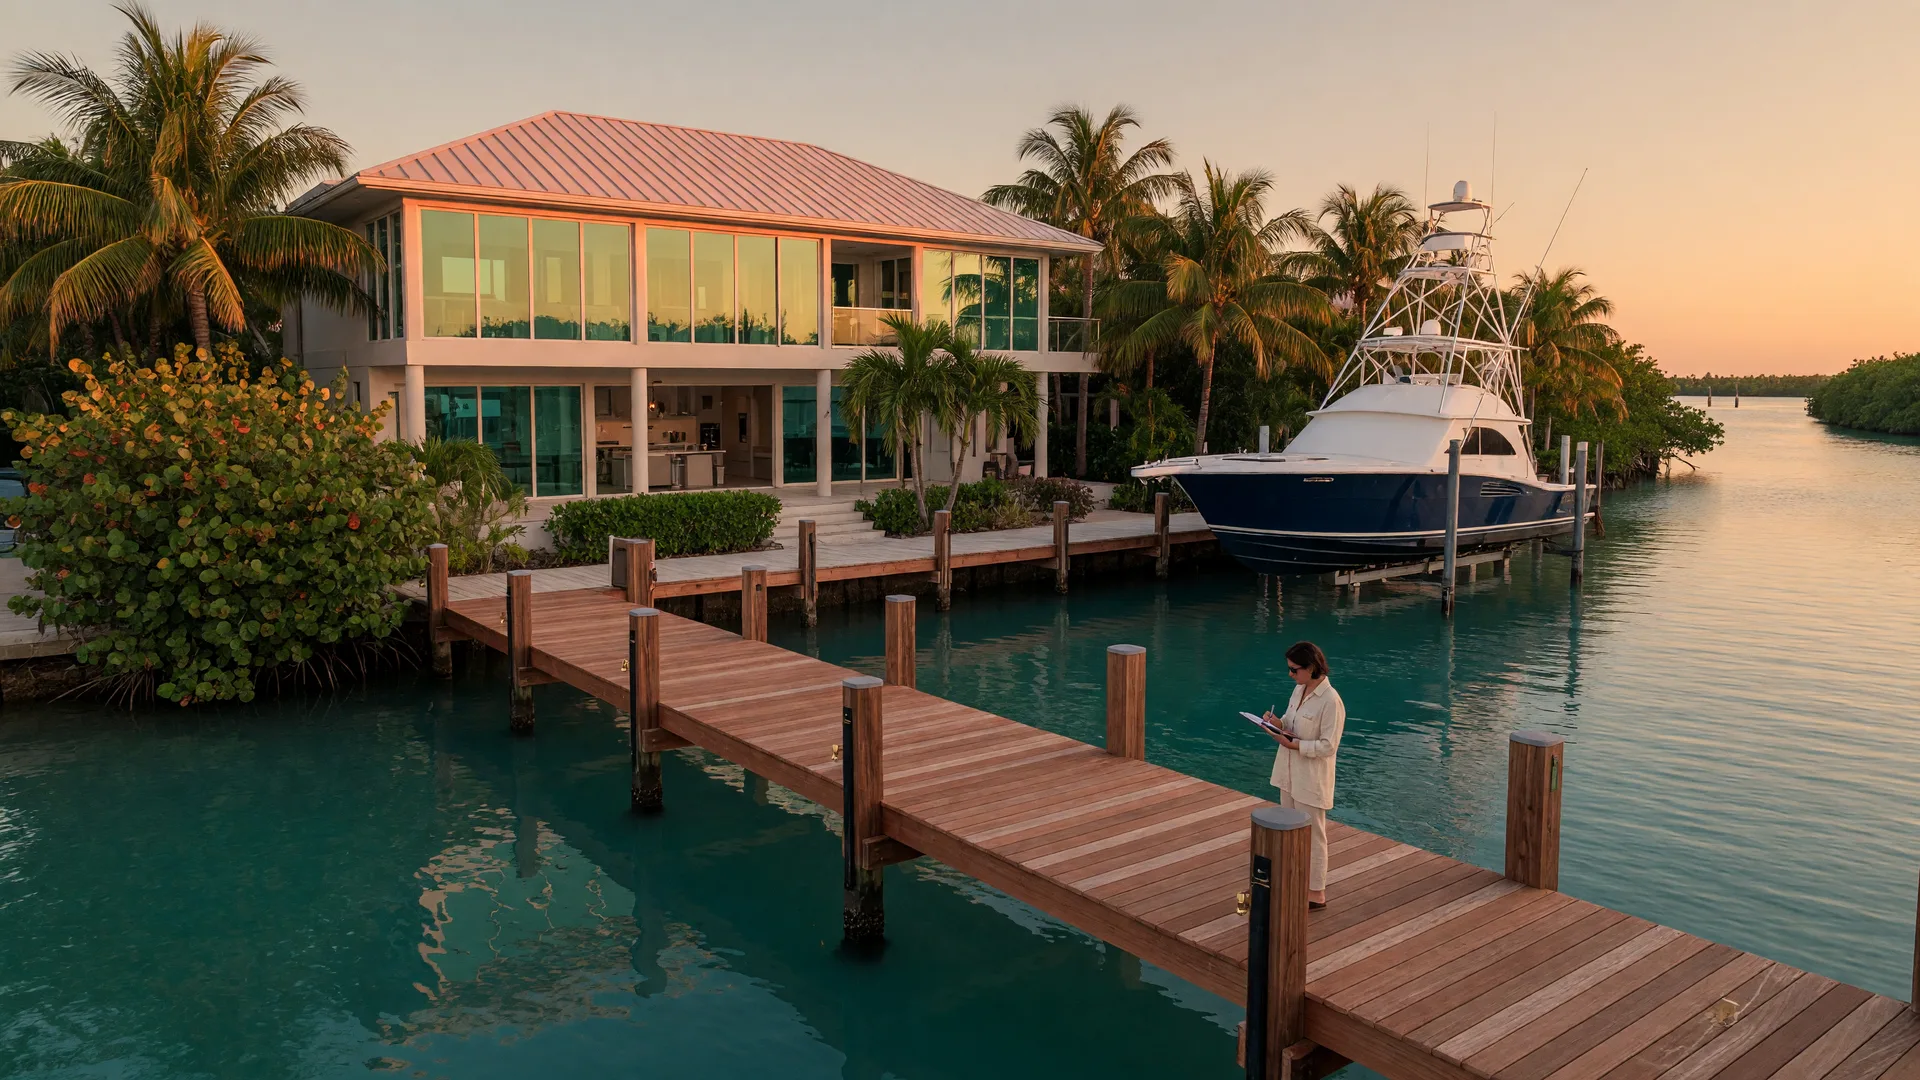
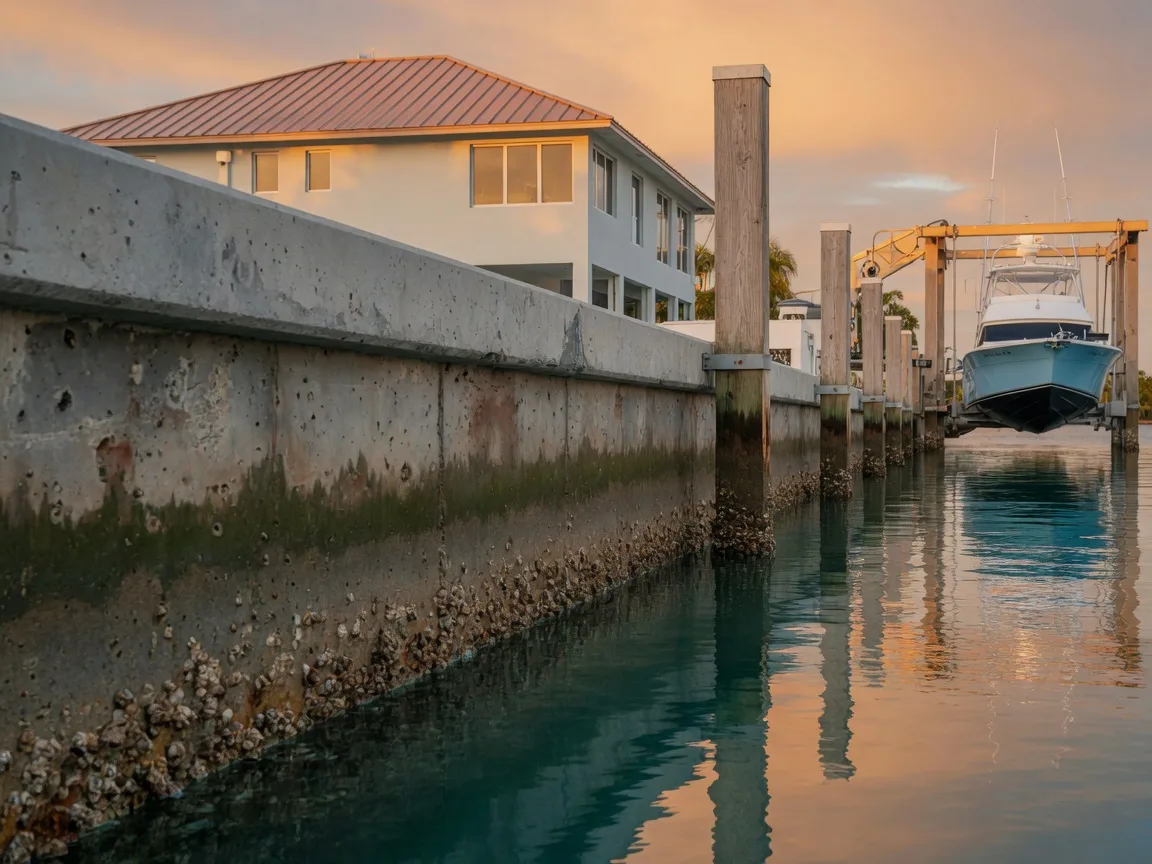
On a Florida Keys waterfront home, the exterior water systems are as important as the interior. Walk the length of the seawall and look at the condition of the concrete and the coping. Inspect the dock from the shore to the end: the decking, the pilings, and the cleats. If a boat lift is included, note its position and test that it operates if you safely can, or confirm with the seller's agent that it was functional at inspection and has not changed.
Ask yourself whether the condition matches what you saw at the inspection. New damage, fresh stains, or a shift in the dock structure should be noted. Waterfront systems are exposed to the elements every day, and a few weeks between inspection and closing can matter if a storm or a wake has caused harm. If anything looks off, photograph it and raise it before settlement.
Confirm What Comes With the Home and What Stays Behind
The contract defines the personal property that stays with the home. In the Keys that often goes beyond the appliances: it can include the boat lift, dock equipment, televisions mounted over the water, outdoor furniture, the generator, and hurricane shutters or panels. The walkthrough is the moment to confirm each one is present and in working order.
Make a simple list from the contract and check it room by room. If the seller has removed something that should have stayed, that is a legitimate issue to raise before closing. Small items are easy to overlook in the final rush, and a quick checklist prevents you from moving in and discovering that the dock box or the built-in grill went with the seller.
Walk the Interior: Systems, Utilities, and Condition
Inside, the goal is to confirm the condition has not changed. Turn on a few lights, run the air conditioning, open and close the impact doors and windows, and check that the water heater and major appliances are present and intact. Confirm the utilities are still on so the systems can be tested. Look for new water stains, fresh damage to walls or floors, and anything that suggests the home was not cared for after the inspection.
Pay attention to the details that annoy owners for years: a dripping fixture, a sticky door, a missing screen, a broken tile. The walkthrough is not the time to be shy. Write down what you find, because once you close, the items become yours. A clear list protects you now and saves frustration later.
Document Everything You See
Photograph and video every room and every exterior system, with a time stamp if your phone allows it. This is not about distrust; it is about having a record. If a repair is missing or an item is gone, the photos are the evidence you bring to your agent and the seller's side before settlement. A short video walking the dock and the seawall is especially useful on a waterfront property, because the condition of those systems is hard to describe in words.
Share the record with your agent immediately. If the walkthrough uncovers an issue, the best time to address it is before closing, not after. Your agent can coordinate with the listing side to correct it or to negotiate a credit, and having the documentation makes that conversation straightforward.
What to Do When You Find a Problem
If the walkthrough reveals a problem, the goal is a resolution, not a confrontation. Start by documenting the issue and sending it to your agent. Depending on what it is, the options range from a repair completed before closing, to a credit at settlement, to, in rare cases, delaying closing while the matter is resolved. Most issues are small and get handled with a quick conversation between the agents.
The key is to raise the issue before settlement, because after closing your leverage is gone. A missing repair that should have been completed is far easier to fix while the transaction is still open. The same principle that guides the rest of the buying process applies here: communicate early, document clearly, and let your agent advocate for you.
Settlement Day: What Actually Happens at Closing
When the walkthrough is done and the property is in order, closing day brings the paperwork and the funds together. You will sign the mortgage documents if you are financing, the title transfers through the closing agent, and the funds move between the parties. The survey and title work you reviewed earlier are finalized here. My guide to title search, survey, and closing mechanics for Keys waterfront properties walks through this final stage in detail.
Once the deed is recorded and the keys are in your hand, the property is yours. The first days after closing have their own rhythm, and my first 90 days after closing action plan covers what to handle right away, from insurance to marine upkeep to hurricane readiness. The walkthrough closes the buying process; that plan opens the owning process.
The Bottom Line
The final walkthrough is the buyer's last checkpoint, and on a Florida Keys waterfront home it deserves the full treatment. Bring the paperwork, verify the repairs, walk the dock and seawall as carefully as you walk the kitchen, confirm what stays, and document everything. Raise any issue before settlement, and let closing day be the smooth finish it should be.
If you are buying a waterfront home in the Florida Keys, contact Steve Conley. With three decades of Keys transactions and contractor and inspector credentials, he walks every buyer through the walkthrough with the same care he brings to the inspection itself.
The final walkthrough, answered.
What is the final walkthrough before closing?
It is the buyer's last chance, usually a few days before closing, to confirm the home is in the condition agreed in the contract: repairs completed, no new damage, and the personal property that should stay still present. It is a verification step, not a second inspection.
What should I check on a Florida Keys waterfront home during the walkthrough?
Beyond the interior, check the seawall, dock, pilings, and boat lift, confirm any agreed marine repairs were completed, and verify that included items such as the lift, dock equipment, generator, and hurricane shutters are present and working.
What happens if I find a problem at the walkthrough?
Document it with photos and send it to your agent right away. Most issues are resolved before closing through a repair or a credit, and a few may warrant delaying settlement. The key is to raise it before closing, while you still have leverage.
Can I do the final walkthrough if I am buying from out of state?
Yes. Your buyer's agent can perform the walkthrough with you on a video call, moving through each room and out to the dock so you can see the condition in real time. It is a practical way to protect a remote buyer who cannot travel in for the walk-through.
What happens on closing day after the walkthrough?
You sign the mortgage documents if you are financing, the title transfers through the closing agent, and the funds move between the parties. Once the deed is recorded and the keys are in your hand, the property is yours.
Helpful Resources & Related Guides
Complete your Florida Keys buying journey with the community guides, the closing and post-closing resources, and the buyer's guide that walk you from walkthrough to waterfront owner.
Internal Resources
- Key Largo Luxury Waterfront Community Guide
- Title Search, Survey, and Closing Mechanics in the Keys
- Negotiating Repairs After the Keys Home Inspection
- The Keys Waterfront Due Diligence Period Explained
- The First 90 Days After Closing: A Buyer's Action Plan
- The Complete Buyer's Guide to Keys Waterfront Homes
- Contact Steve Conley About Your Keys Purchase

Steve Conley
Principal, Conley Sales Group at COMPASS, the exclusive Compass office in the Florida Keys. Licensed Sales Associate, Contractor, and Home Inspector with over 30 years and $1.4 billion in career sales serving the island chain.
Full Bio
Thinking About Buying or Selling
in the Florida Keys?
Steve Conley brings 30 years of Keys expertise, $1.4 billion in career sales, and contractor-inspector credentials to every transaction. Let him guide you through the walkthrough, settlement, and every step of buying a waterfront home that is as sound an investment as it is a lifestyle.
Connect with Steve